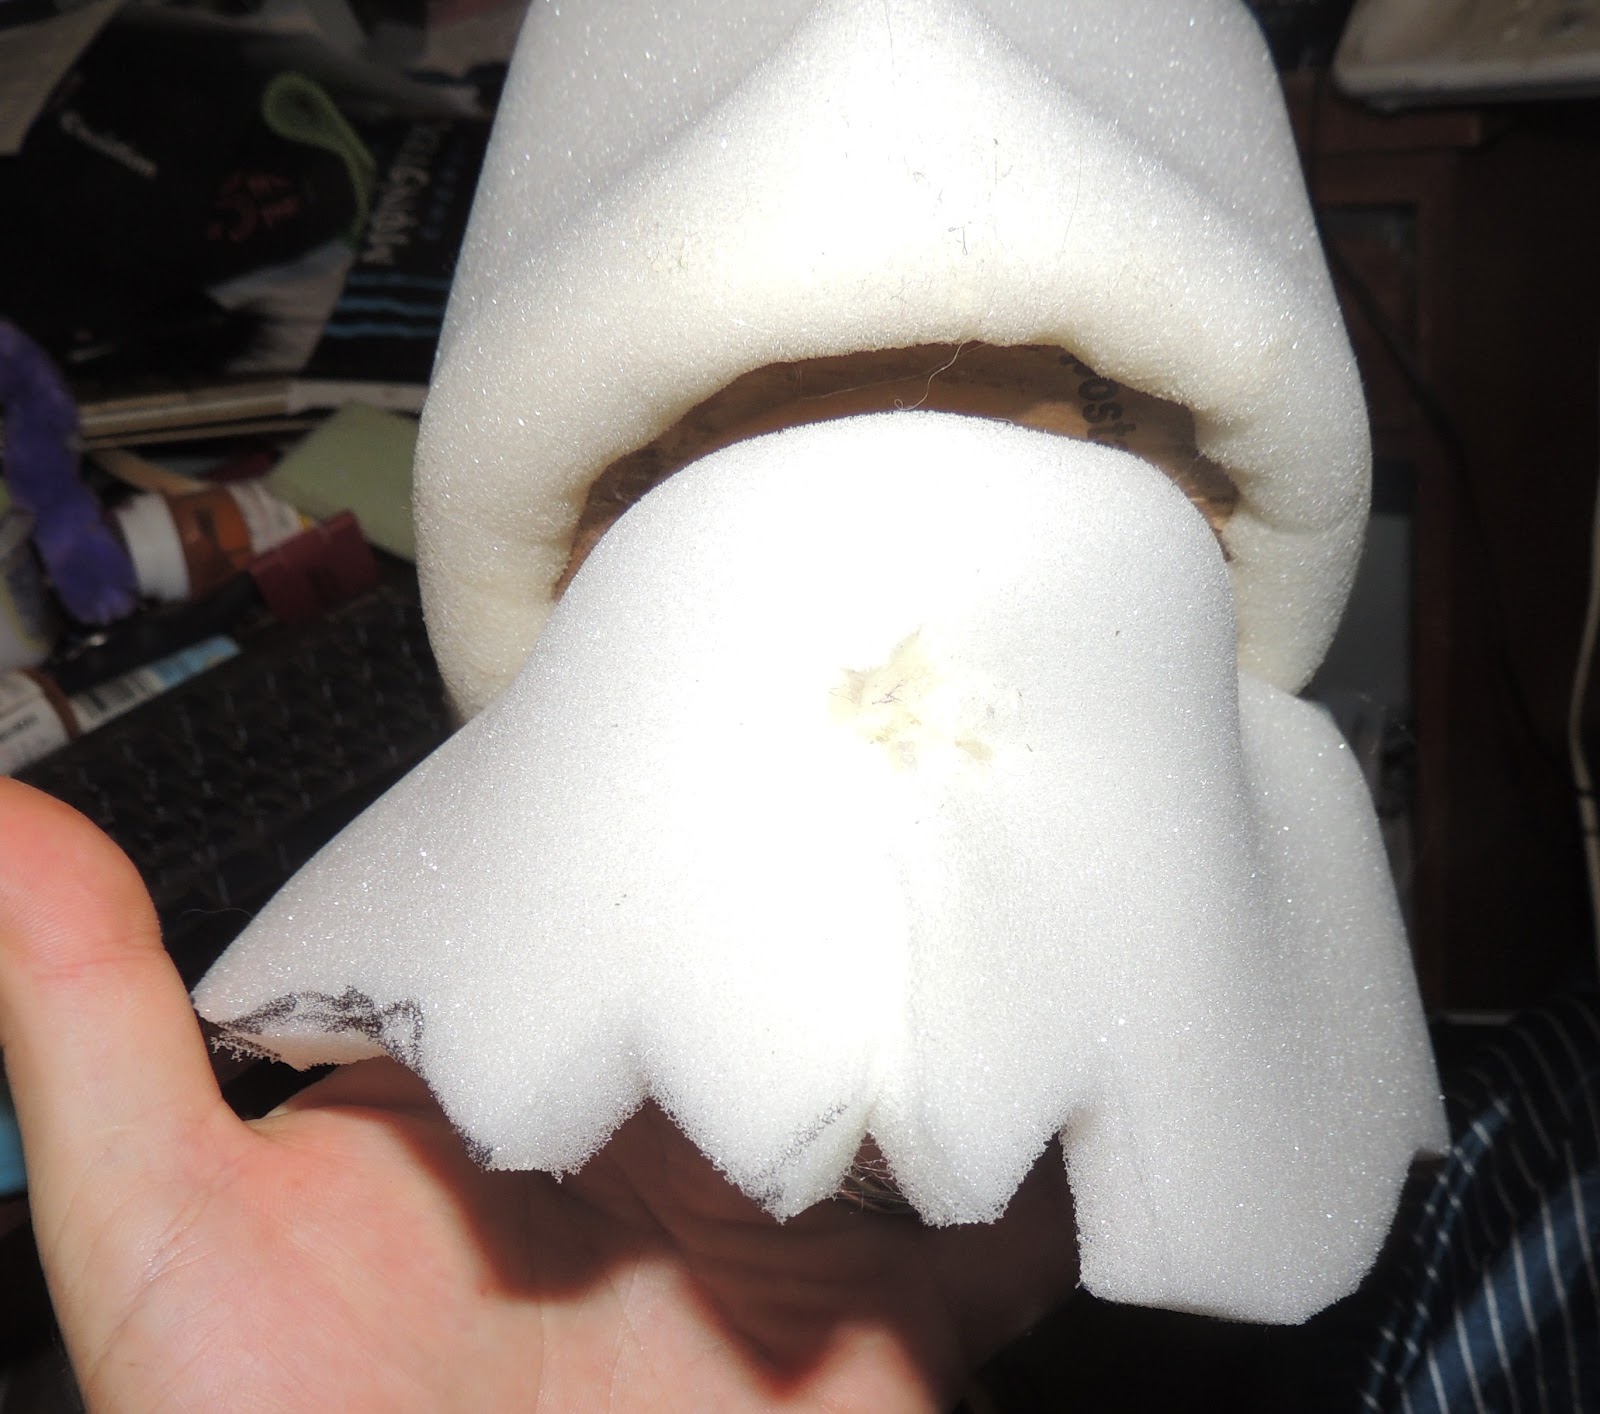
Friday, September 28, 2012

Daly Design part 3 - mouth, tongue, hair, eyes, eyebrows

Now comes the easy part!

MOUTH


Take a piece of paper and hold it against the mouth plate.  Use your finger to trace an indent all around the lip.


Cut it out and make sure it fits the mouth opening, covers the exposed cardboard but not the lip.


Cut the patterns out of the colored felt you wish to use in the mouth.


Spray glue the side that attaches to the mouth plate.

Stick in place

Cutout a small piece of 1/4" foam, slightly larger than the tongue shape you wish to use.


Glue the edges of the tongue to the bottom mouth plate.  This will give you a nice rounded shape with smooth edges.  Now mix up a small bit of latex in the color you wish the tongue to be and carefully do a few coats.

EYES

Spray glue a piece of felt to be used for eyebrows and fold it over on itself.


Cut out brows.  Small like above for male puppets.  For female puppets.  Make them wider and cut lashes into them.


Glue them over the top of the ping pong balls as desired.  Spray glue a piece of black string (I used embroidery floss) and use it to line the bottom of the eye.  Notice how the left eye pops verses the right eye with this little addition.

HAIR


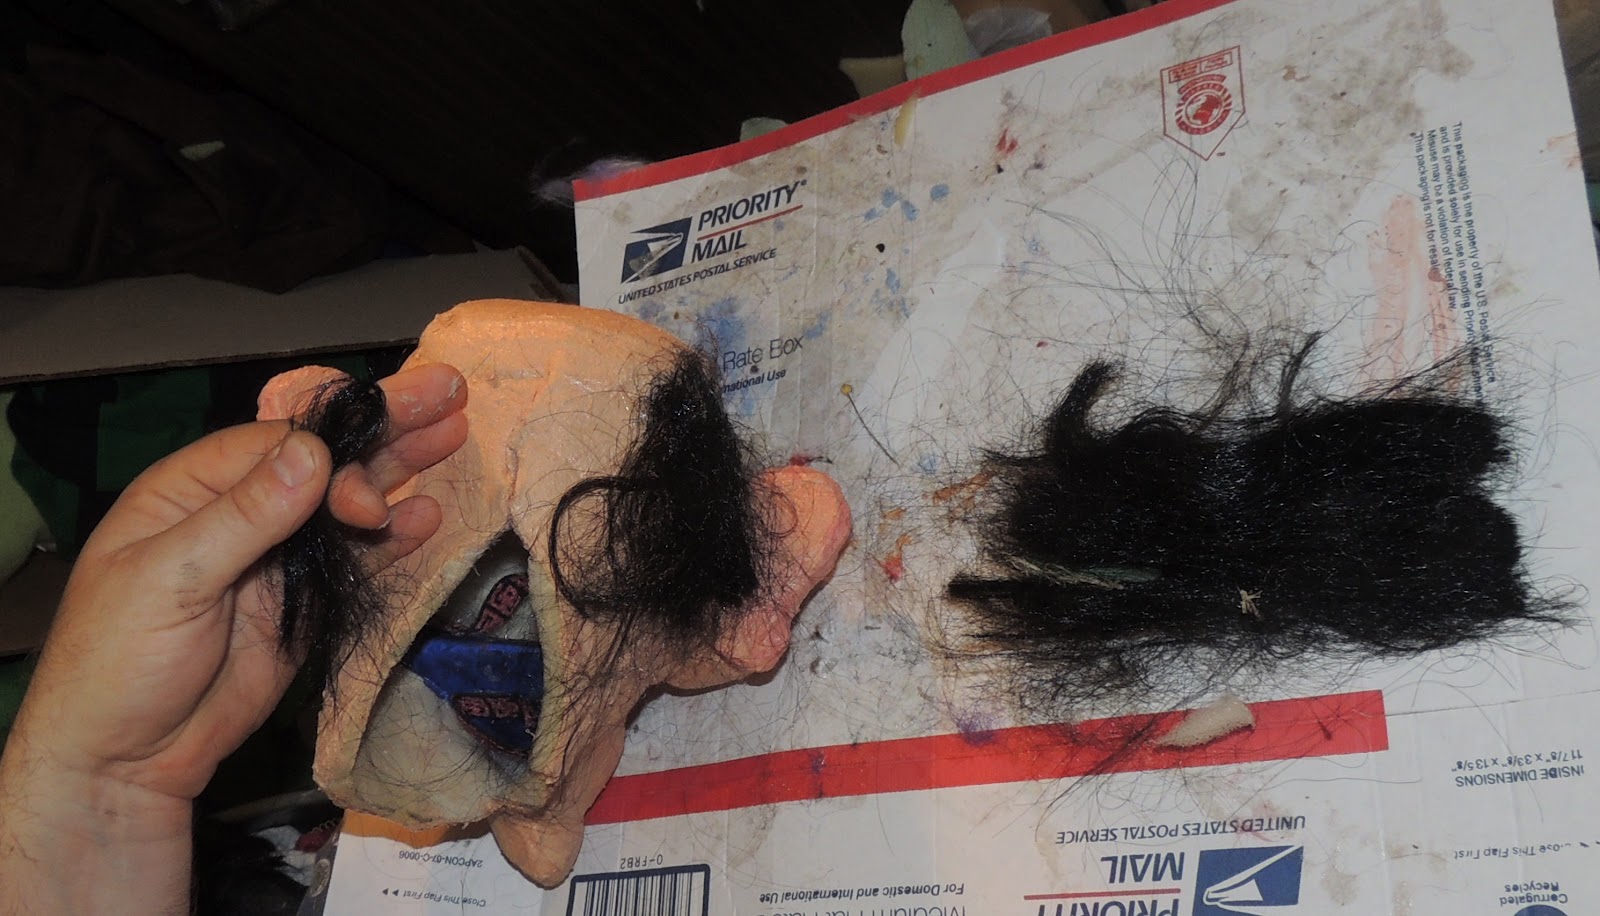
You can use a wig, yarn, fake fur, feather boa, etc for hair.  In this example I took a long, cheap wig and cut strips out of it.  Cut these into lengths twice as long as you want the hair to be.  Fold the hair in half and find where it has to attach to be the bottom length you want.


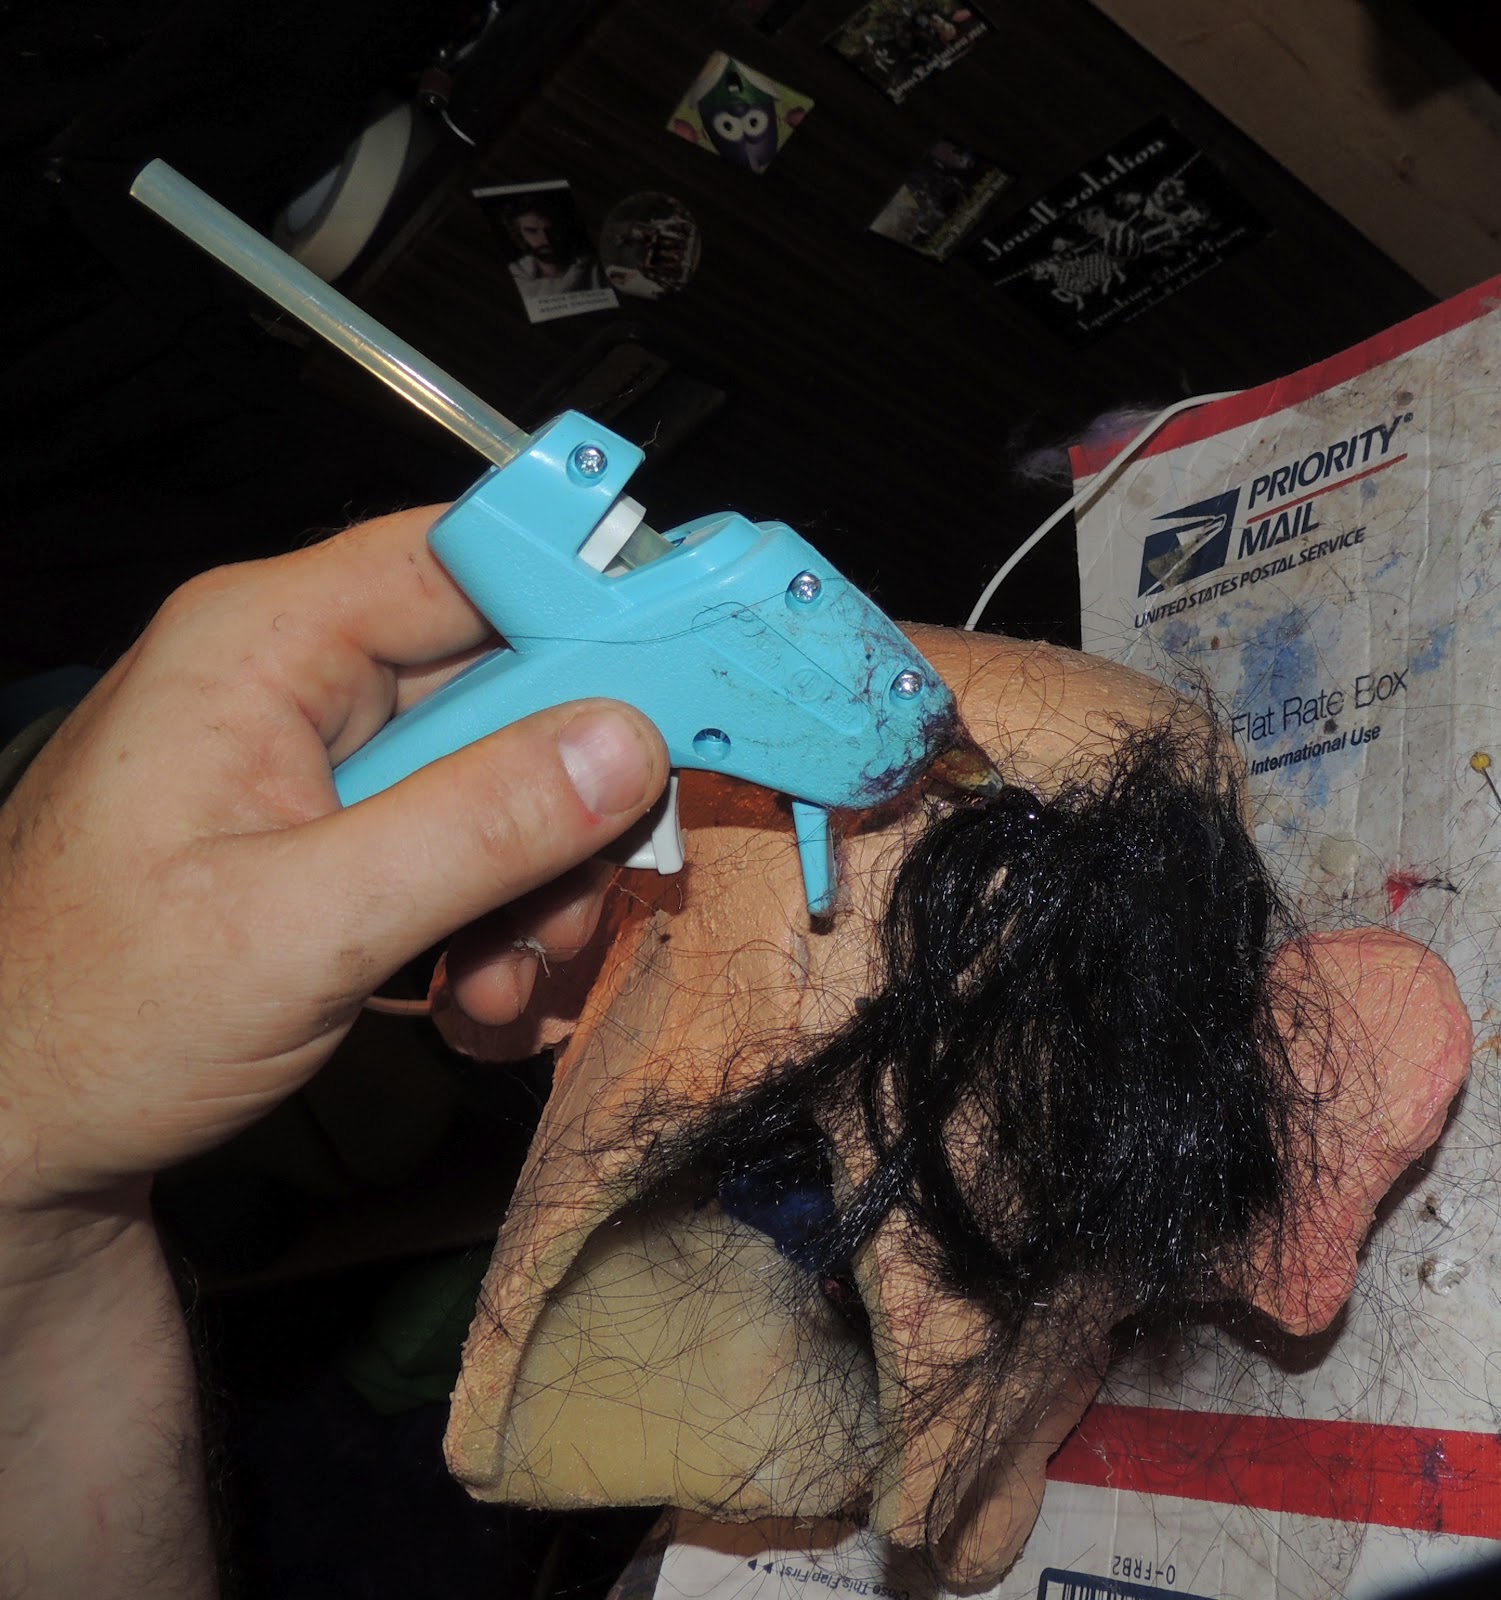
Hot glue an area about 3/4"-1" long and stick the fold of the hair down.  Put a couple lines of hot glue across the top of the loop to help catch all the hairs.

Continue this around until you have the bottom row done.  Move up the head about 3/4"-1" and start another row.  


When you get to the very top, you wont want to put the top lines of hot glue across the top of the loop or they will be seen.  One trick is to place the hot edge of the glue gun across it to melt the glue before and it should soak up enough to hold the hair in place.

Trim hair so it looks nice

Finished Head


Thursday, September 27, 2012

Daly Puppet Method part 2 - Applying the Latex

We had part 2 of our class - Applying the Latex.
First, you will need supplies.


You will need Liquid Latex, acrylic paint, a container to mix it in and a brush to apply it with.


Pour latex in a container along with a bit of paint and stir.  Then simply paint it on.


Don't worry about getting it on the eyes or mouth plate


Where there are gaps, simply build up the latex to fill them in.  You'll notice in the above picture that you can really see the pores in the foam.  Let the latex dry (a hair dryer can speed it up) and add more coats.


2 coats


4 coats

Now for some shading...


You will need a pallet.  This can be a pallet you get at a craft store or a simple piece of cardboard.  I found ice trays 2 for $1 at a dollar Store.

Put some of the extra, colored latex in one section and add a drop of paint (hint: I used way too much paint!).  Don't use black.  try blue and red for a more natural look.   Mix it and lightly brush on the nose, creases, cheeks,etc.

Once this all drys, we go back to the eyes.  Remember I said not to worry about getting latex on the eyes?


Take a sharp knife and cut around the edge of the eye.  Hard enough that you get through the latex, but not enough to cut into the eye.


Now just peel the latex off the eye.

 Here is the basic head.  I'll start with details soon.  


Also, here is the dragon with the same done to him.


Next: Mouth, teeth, pupils and hair

Tuesday, September 25, 2012

Too much time

Okay, it has been a week since my first lesson and 5 days since finishing the head with the techniques I learned and posted.  FAR too long for a guy with ADD!! So I started another puppet based on the same techniques: a dragon.  I am not going to go into as great detail on the steps as they really are the same as the previous post.  Here he is.

Same basic start, just an elongated mouth


Cut out like before

Cover in scrap fabric and cutout as before

Spry glue foam on as before and cut in basic head shape


Fold lips 180 degrees over and down to mouth board as before.

The jaw was formed the same as before using the pie-shaped cuts to round it.  Most the detail (cheeks, snout ridges, Nostril and eye brows) were made using the same technique as the cheeks on the previous puppet head.  The eyes are still ping pong balls as are the nostrils themselves.

The eyelids are just double thick felt pieces.  The horns are simple cones with diamond-shaped cutouts where I wanted each one to bend.

(cone used for horns)
Pattern for basic body.  The right edge is a 'fold' and becomes the middle of the chest. So pattern should be doubled
Added neck (simple tube just big enough for hand to slip through) and padding for legs, chest and rump.

I plan on building a fake arm that he will perch on like this.

The wings will just wrap around (I think)


I built the arms out of 2 layers of 1/2 foam.  Between each layer I added a little strip of fabric to act as a hinge to add more flex to the arms.


Arms pinned in place

Ok, now to wait for tonight's lesson...

Wednesday, September 19, 2012

Daly puppet construction method part 1

I had the pleasure of sitting down with puppeteer, hypnotist, magician, character artist, female impersonator animal trainer, theme park consultant, etc, Steve Daly last night.  While telling us many fascinating stories, he showed us a different technique on puppet making.  Here is my first attempt on it.

Start by holding a piece of cardboard so it is comfortable in your grip like a puppet's mouth


Draw around your hand. Make one approximately the same size for your thumb


Now on the thumb piece, draw the lower jaw


 Cut them out

Spray glue one side of the cut outs and some scrap fabric (this will not be seen). Glue them with about 1/8" to 1/4" space between for a hinge.


 cut it out

Glue a piece of fabric, bias tape or something across the fabric side of the mouth for your thumb and finger holds. Make this easy enough to get int, but tight enough it holds your fingers.


wrap a piece of 1/4" foam around the top part of the mouth so it extends past the back of the mouth. Note: I should have given myself another 2" on each side here.


Spray glue the edge and top inch or so of the foam where it will meet the mouth. Also spray glue the corresponding top of the mouth (see next photo)


attach the foam to the mouth so there is an over hang of 1/2"-5/8"


Fold the edge of the foam 180 degrees so that it connects to the mouth top, forming a nice lip


Do the same for the bottom


Cut the top of the head to the desired shape. I added an additional pie-cut on the side to add additional 'roundness' to the shape.


another view- glue these cuts together


Shape the chin. The pie-cut in the middle here forms the initial curve of the chin. The two to each side adds to the curve


The jaw shape is finished off with a little swoop up from chin to jaw.


Here you see the piece I had to add in to the head since I cut it short as mentioned in the earlier picture


Here is how the chin looks when glued


Take a square of foam and stuff it with scrap. Tie a rubber-band around the end. Make two smaller ones. This will be the nose


Cut a * shaped hole where you want the nose to be centered


Spray glue the hole and the rubber-banded end of the nose and push it through the hole


Off-set two smaller holes for the nostrils and do the same.


Also do similar for the eyes (ping-pong balls)


y


And we have a face


What??? I said I forgot the ears!


Cut a < shaped hole. Spray glue both ear and hole and insert.

Now I have to wait for part 2 of the instruction!