


Draw around your hand. Make one approximately the same size for your thumb

Now on the thumb piece, draw the lower jaw


Spray glue one side of the cut outs and some scrap fabric (this will not be seen). Glue them with about 1/8" to 1/4" space between for a hinge.


Glue a piece of fabric, bias tape or something across the fabric side of the mouth for your thumb and finger holds. Make this easy enough to get int, but tight enough it holds your fingers.

wrap a piece of 1/4" foam around the top part of the mouth so it extends past the back of the mouth. Note: I should have given myself another 2" on each side here.

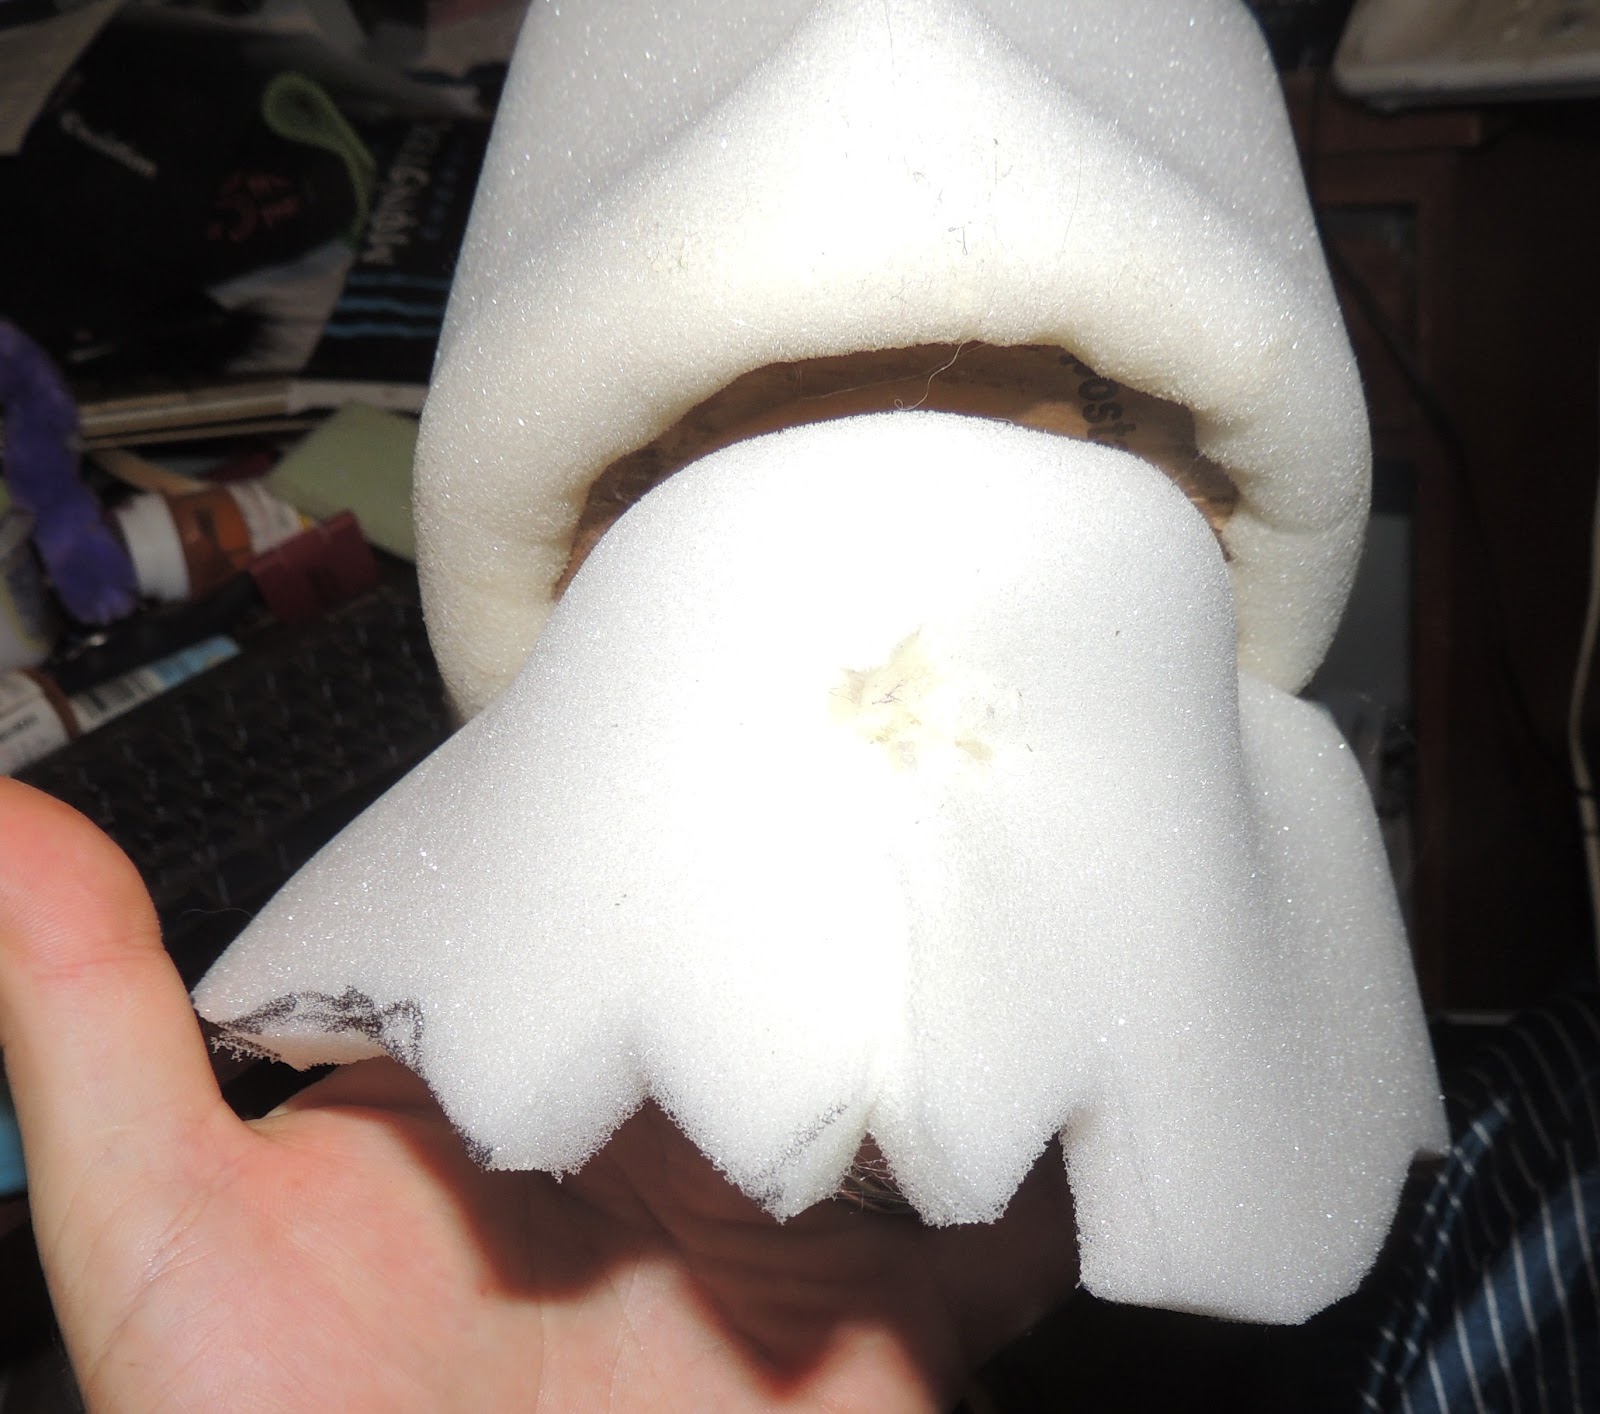
Spray glue the edge and top inch or so of the foam where it will meet the mouth. Also spray glue the corresponding top of the mouth (see next photo)

attach the foam to the mouth so there is an over hang of 1/2"-5/8"

Fold the edge of the foam 180 degrees so that it connects to the mouth top, forming a nice lip

Do the same for the bottom

Cut the top of the head to the desired shape. I added an additional pie-cut on the side to add additional 'roundness' to the shape.

another view- glue these cuts together
Shape the chin. The pie-cut in the middle here forms the initial curve of the chin. The two to each side adds to the curve

The jaw shape is finished off with a little swoop up from chin to jaw.

Here you see the piece I had to add in to the head since I cut it short as mentioned in the earlier picture

Here is how the chin looks when glued

Take a square of foam and stuff it with scrap. Tie a rubber-band around the end. Make two smaller ones. This will be the nose

Cut a * shaped hole where you want the nose to be centered

Spray glue the hole and the rubber-banded end of the nose and push it through the hole

Off-set two smaller holes for the nostrils and do the same.

Also do similar for the eyes (ping-pong balls)
y

And we have a face

What??? I said I forgot the ears!

Cut a < shaped hole. Spray glue both ear and hole and insert.
Now I have to wait for part 2 of the instruction!
Wow! a really nice step by step.. I've been following you from puppets and stuff, I'm Cristina from Spain, I've really liked your tutorial, can't wait to see part two! regards from spain!
ReplyDeletehttp://puppetilandia.blogspot.com.es/
Great tut! You really showed each step nicely. This character is coming along nicely. :)
ReplyDeleteI also am on puppetsandstuff.
Well, i am certainly impressed, it reminds me of the technique i first used to make puppets and proved that it still works brilliantly as shown in your fantastic recording of the process. i cant wait for the next step and thank you for allowing us to join in this adventure with you!!
ReplyDeleteShawn here... looks like you are picking up some fans from Puppets and Stuff. Just wanted to say it is great that you are documenting this build and sharing it with others. Unless we share the art will die. Great work!
ReplyDeleteYes it does look like he is picking up fans from P&S, me included, i am jeezbo!!
ReplyDeleteDid you make the cheeks the same way you made the nose? It seems to be attached differently...
ReplyDeleteThis comment has been removed by the author.
ReplyDeleteHmmm... I totally left out doing the cheeks. Sorry about that! For the cheeks, its more like the lips.
ReplyDeleteTake a square-ish piece of 1/4" foam and spray glue just the edges of 2 connecting sides. Place the tip of the corner right at the junction of nose and lip. Lay down the top edge in the desired curve of the top of the cheek. Do the same for the bottom.
Now cut a semi circle from where you stopped at the top to where you stopped at the bottom. This can be done many ways depending on if you are going for high cheek bones to drooping jowls.
Put in a little stuffing and glue the remaining edge down. I'll try to add some pictures in another post.